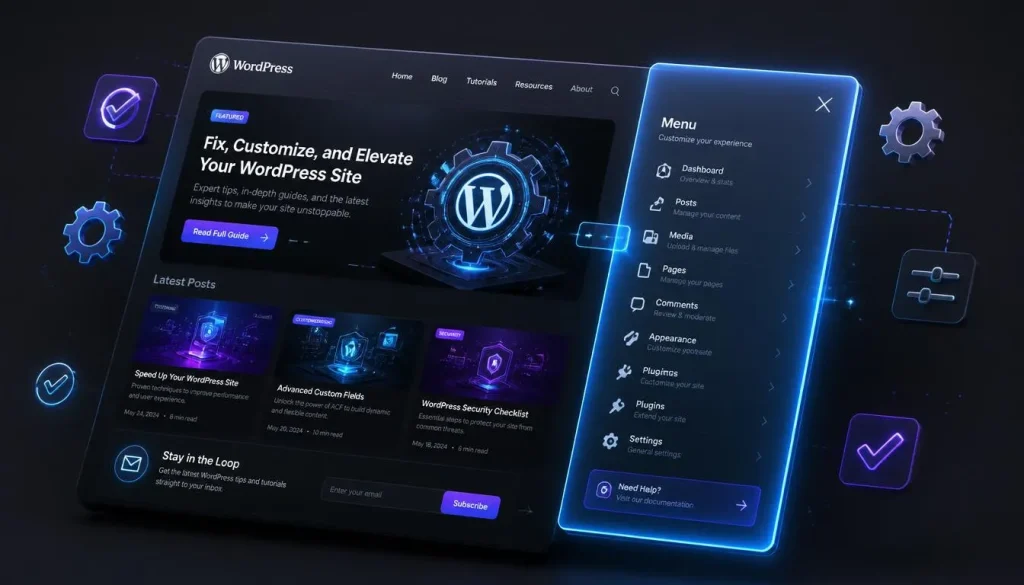

Creating high-quality featured images for your WordPress site doesn’t require a professional graphic designer or an expensive Shutterstock subscription. Generative AI tools can create stunning, custom graphics for your blog posts in seconds.
However, many WordPress users ruin their site’s SEO and speed because they don’t know how to choose the right image dimensions or how to convert heavy images into modern formats like WebP.
In this step-by-step guide, we will show you how to generate gorgeous graphics using free AI tools, get the perfect dimensions, and optimize them using Ezgif to keep your WordPress site lightning-fast.
Step 1: Choosing the Best Free AI Image Generators
There are several free tools available to create blog graphics, but they have different login requirements and features:
1. Bing Image Creator (Microsoft Designer)
- The Pro: Uses the highly advanced DALL-E 3 engine and is completely free.
- The Catch: It strictly requires a Microsoft Account (Outlook/Hotmail). If you try to log in with Google, it often gets stuck in a loop.
- Default Output: It usually outputs square $1024 \times 1024$ images.
2. Leonardo.ai (Highly Recommended for WordPress)
- The Pro: You can log in instantly using your Google account. Unlike Bing, it allows you to natively select your aspect ratio (like 16:9 or 3:2) before generating the image.
- The Catch: Operates on a daily free credit system, which is more than enough for regular bloggers.
Step 2: Finding the Golden Dimensions for WordPress
When you generate an image, size matters. If your image is square ($1024 \times 1024$) and you upload it directly, modern WordPress themes (like Astra) will crop it randomly, often cutting out the most important part of your graphic.
- The Perfect Aspect Ratio: You want a wide-screen format, ideally 16:9 or 3:2.
- The Ultimate Dimension: A dimension of 1024 x 592 pixels is absolutely perfect. It is perfectly scaled for modern screens, looks great on social media shares, and keeps the file size lightweight.
💡 Tip: If your AI tool gives you a square image, you can easily drop it into Canva, create a blank $1200 \times 675$ or $1024 \times 592$ canvas, and stretch your image to fit perfectly.
Step 3: Converting Images to WebP Using Ezgif (Crucial for Speed)
AI generators usually output images in PNG or JPG formats. PNGs can easily be over 1 MB in size, which will slow your website down and hurt your Google PageSpeed scores. Google loves WebP, a next-gen format that reduces file size by up to 80% without losing quality.
Here is how to convert your AI images using the free online tool Ezgif:
- Go to Ezgif.com and click on the JPG to WebP or PNG to WebP tool.
- Upload the graphic you downloaded from Bing or Leonardo.
- Click Upload!
- (Optional) If your image isn’t already in the right dimension, you can use Ezgif’s Crop or Resize tool to change it to $1024 \times 592$.
- Click Convert to WebP!
- Under the output window, click Save to download your newly optimized, super-lightweight image.
Step 4: Uploading to WordPress & Adding Alt Text
Now that your image is exactly $1024 \times 592$ and in .webp format, head over to your WordPress dashboard:
- Open your post and look at the right sidebar.
- Click on Set featured image and upload your WebP file.
- Don’t skip the Alt Text: Fill out the “Alternative Text” field with a clear description of the image using your main keyword. This helps your image rank on Google Images.
Conclusion
By shifting your workflow to AI-generated images, ensuring a 16:9 aspect ratio (like $1024 \times 592$), and compressing them through Ezgif into WebP format, you give your readers a beautiful visual experience while keeping your WordPress site optimized for SEO and raw speed.